Wednesday, March 9, 2011

Final Piece

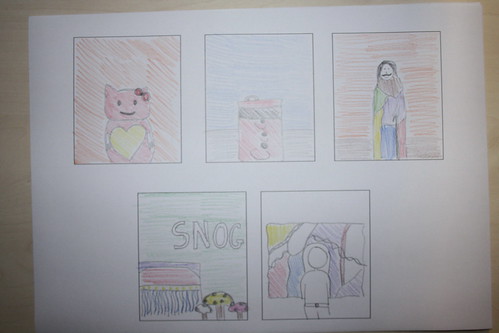
For my final piece these are the photographs that i decided to use. I have chosen these photos because the colours in the photographs are bright and clear. This is the order of which I put my photos in because I thought that the photos went well together arranged in this order.
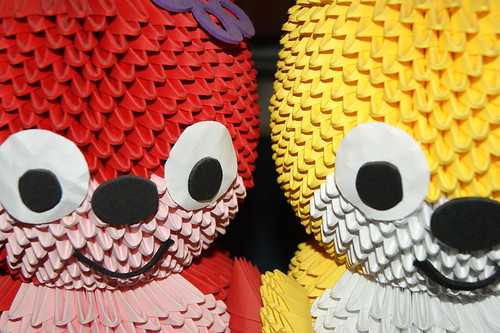
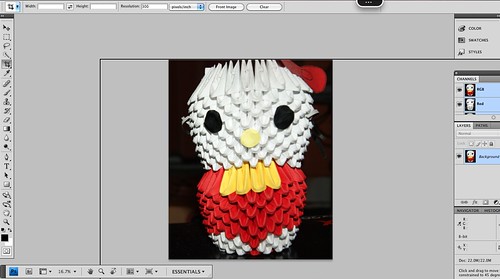
Photo 1:
I like this photo because of the red, and green popping out with it in focus and the background blurry.
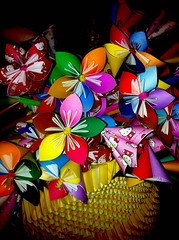
Photo 2:
I like this photo because the yellow is really bright and the different colours go well together.
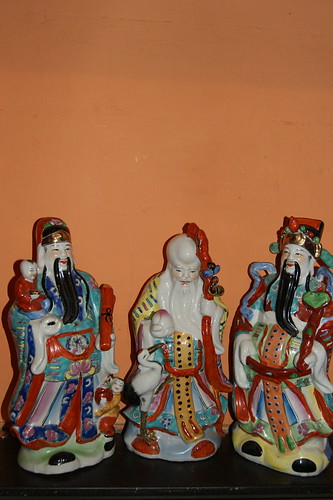
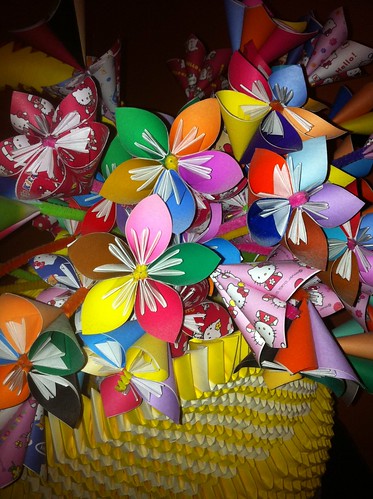
Photo 3:
I like this photo because all the colours are bright and popping out and I like the composition of the photo because the object is not in the middle it is on the side.
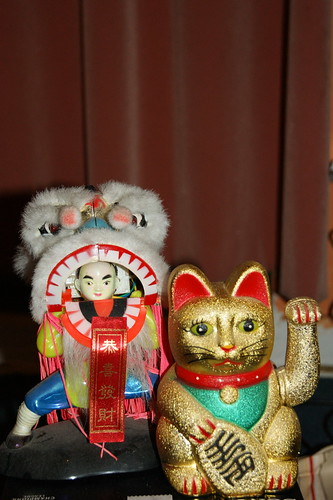
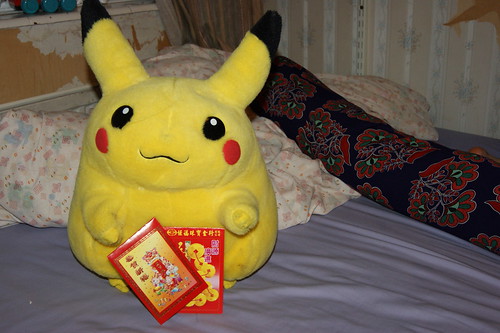
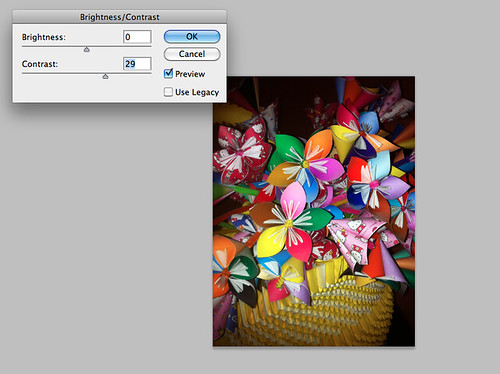
Photo 4:
I like this photo because of the different bright colours with the bright red colour and with the gold glittering.
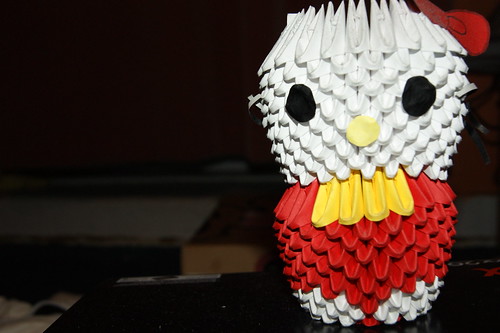
Photo 5:
I like this photograph because the colours are quite pastel and there are dark and light colours on the object.
Photo 6:
I like this photo because it has colours that go well together with the blue and red.
Photo 7:
I like this photo because of the light colours and the details of the object.

Thursday, February 10, 2011

Photos not chosen

For my final piece these are the photos that I did not choose to display on my final piece.

Photo 1:
I did not choose this photo because i thought that the objects was not next to each other and the photograph shows more of the red object than the yellow object.
DSC00372

Photo 2:
I did not choose this photograph because I thought that the background did not go well with the colours and I wanted a dark background that could be blurred.
DSC00350

Photo 3:
I did not choose this photograph because the colours of the objects do not look bold and looking at the photograph the colours look faded.
DSC00333

Photo 4:
I did not choose this photo for my final piece because I did not like the composition of the object, and looking at the photograph it looks like the image is not straight and it looks quite slanted.
DSC00329

Photo 5:
I did not choose this photo because I don't like the colours, I took this photo because it had colours in it but I do not think that the colours go well together.
DSC00328

Wednesday, February 9, 2011

Final Piece

For my final piece I have decided to concentrate on color, my concept is color and objects. I have been looking at the photographer Martin Parr who takes pictures with a lot of bright colors in his photographs.

For my final photograph I have decided to take several photographs about color, with objects that has a lot of different bright colors on them and then I want to brighten the colors on photoshop to enhance the photograph. I want the photographs to be printed out small because I want people to look close at the photograph and concentrate at all the colors in the photograph.


IMG_2831

This is my final piece plan, the drawing i did has lots of different colors and different objects that has different colors that I can enhance and change to make it brighter.

Tuesday, February 8, 2011

Cropping

I decided to experiment on cropping and to see how it will enhance how my photograph looks.

Screen shot 2011-02-08 at 11.33.32 AM
I first went on photoshop and clicked on the crop tool on the left hand side where all the icons are.
Screen shot 2011-02-08 at 11.36.18 AM
Then I highlighted the whole of the picture and then moved the box to see how much of the photograph I wanted to crop out.
Screen shot 2011-02-08 at 11.36.27 AM
Then I clicked enter and the background I did not want was cropped of it makes the object look much bigger than normal.

However I have decided that I like the photograph with the background because the background makes it look like a mystery because you don't know where the object is.

Sunday, February 6, 2011

Filter Experiment

I decided to experiment on filters on Photoshop.

Photo 1:
This is the photo that I started of with which has not been edited.
Photo 2:
In this photo I used the colour filter cyan which makes the photograph look blue.
Photo 3:
In this photo I used yellow filter which makes the photograph more brighter and lights up the photo

Wednesday, February 2, 2011

Experimenting with photoshop colors for final piece

I have experimented on enhancing colors on a photograph that I have previously taken. I wanted to photoshop this photo because it had a lot of color in the photograph and it will help me on my final piece on enhancing the colors of my photographs that I will take.

IMG_0117 IMG_0117enhanced
This is my before and after photograph.
___________________________________________________

IMG_0117
This is the photograph before I edited it, in this photograph I used flash because the room was orange and if I wasn't to use flash the whole picture would look orange. I decided to take this photo because there is a lot different colors in the photograph.
Contrast and brighness
Firstly I was looking around at all the options of what I can do with the photo and I changed the Brightness and Contrast of the photo to make the photograph lighter and more bold.

Curves
Then i changed the curves to enhance the colors in the photograph.

Exposure
Then I changed the exposure of the photograph to sharpen the colors.

Vibrance
To finished the photograph I changed the vibrance of the photograph to make it bold.

This is the end piece o the photograph that I did.
IMG_0117enhanced

Thursday, January 27, 2011

Decide on your focus

What artists/concepts/techniques have inspired you?

- The artist that has inspired me is William Eggleston and Martin Parr because they both use the concept of color, their techniques of using object and changing lights to create color has inspired me.

What are your next steps? What are your intentions? What are your intentions? (What will you experiment with/research, etc)

- My next steps is to investigate more on William Eggleston and Martin Parr and experiment taking pictures with their concept of colors in my photographs. I want to take photographs with a lot of color, so i will be finding objects with bright colors and may enhance the colors on photoshop.

Tuesday, January 25, 2011

Suggested Photographers

Zoe Leonard

She highlights poverty i certain parts of America by capturing images of abandoned buildings.
Zoe-Leonard-Century-Photo-Centre

exposic-zoe-leonard-400px

analogue2x

Edward Weston

He takes photos of different types of objects and sculptures and takes close up photographs.

My Brainstorm of what everyday means...

I have brainstormed what 'Everyday' means to me...


DSC00153

Monday, January 24, 2011

These are the photographs that I have taken to show my story of what happens when I wake up on the weekend.

Photo 1: My toothpaste on my toothbrush.
DSC00448

Photo 2: A shot of me looking in the mirror.
DSC00443

Photo 3: A picture of my breakfast bar for the morning.
DSC00453

Photo 4: A photo of my wardrobe.
DSC00450

Photo 5: A photo with my feet one with a shoe on and one without and the shoe in front of my feet.
DSC00451

Friday, January 21, 2011

Photo Essay Plan

This is the drawing I drew of my morning on the weekend.

Photo 1 : My toothbrush with toothpaste on it.
Photo 2 : A picture of me looking in the mirror.
Photo 3 : Photo of my morning breakfast bar.
Photo 4 : A photo of my wardrobe.
Photo 5 : A photo with me on with one shoe and the other shoe in front of me.
DSC00439

Thursday, January 20, 2011

Photo Essay

Photo Essay: To me, I think that a photo essay is a series of photos that together becomes a story.

There are different types of shots:

Medium Shot:
A medium shot is an image that get's closer to the action, and generally tell what the story is about. in medium shots the subject is generally shot from the waist up.
Low Angle shot:
A low angle shot is take from below the subject of the photograph, this has a impact on making the subject more powerful such as the photograph which makes the girl look much bigger than she is.
High Angle Shot:
A High angle shot is taken from above the subject of the focus, this can have the effect on showing more of whats been looked at and makes the viewer of the photograph look much more powerful like looking over the image.
Detailed Shot:
The detailed shot is a much closer photograph, which is a tighter detail that are relevant to the story. In the photo below the detailed shot is the topping of the donut.
Close up shot:
The close up shot, or portrait shot is the subject of the picture that is in focus, the photos are mostly from the head down to the neck.


Tuesday, January 18, 2011

Trying new styles on photoshop.

Photoshop Experiments!

Black and white background with colored outline.
Blackandcolour
I opened up my photograph and clicked on the 'Lasso tool' and outlined the piece that I wanted to be colored and copied that, then I closed the photograph and opened it and changed it to black and white and then I pasted the colored layered on and put it in place.

Using photo filter
For this I used photo filter to change the color of the photography, it shows that changing the filter can have a impact on the tones of the photography, the first photography I used yellow filter and it makes the photograph look warm and sunny comparison to the second photography where i used a blue filter it looks gloomy and dull.
Photofilteryellow
Photofiltercyan

Adding Text to Photographs

How I Added Text to one of my photographs

Step 1:
1
I choose the photography that I wanted to put text on.

Step 2:
2
I choose the text tool which is the tool with the capital 't'.

Step 3:
3
Then I typed in what I wanted to write, I wrote 'Will they always be friends'.

Step 4:
4
Then I choose the font that I wanted to use which was 'Lucida Calligraphy' on Italic with the font size 24.

Step 5:
5
Then i clicked on the layer that my font was on.

Step 6:
6
Then I decided that I wanted to change the color of my font to red so I clicked on the color box and choose the color red.

Step 7:
7
Then this is what it looked like when I changed the color to red.

Step 8:
8
Then I made the font size bigger by holder 'apple & T'' which is free transform and rotated it a bit.

Step 9:
9
Then I added textures to make it more bold.

Then i tried to save it however i didn't realize that the photo is too big to save so photoshop crashed but i have noted this problem and next time I will make sure that the photo can be saved and that it is not to big.